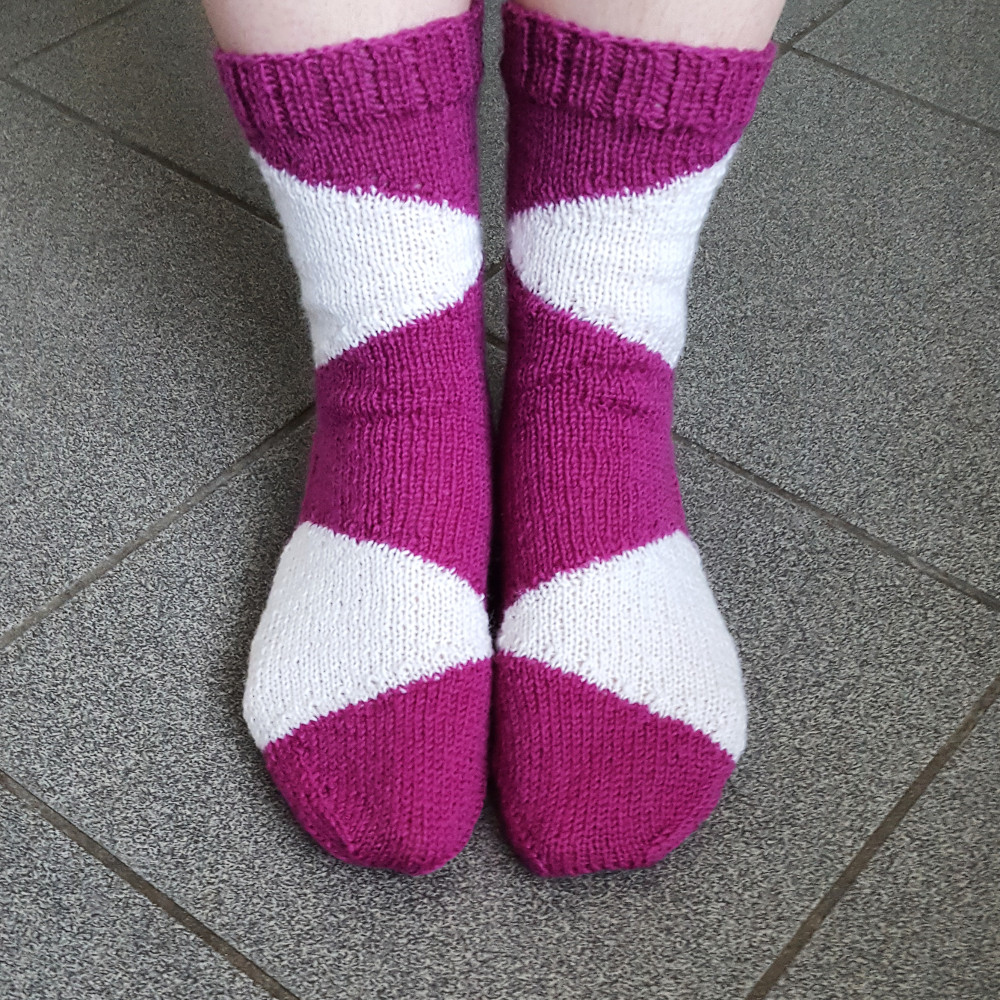
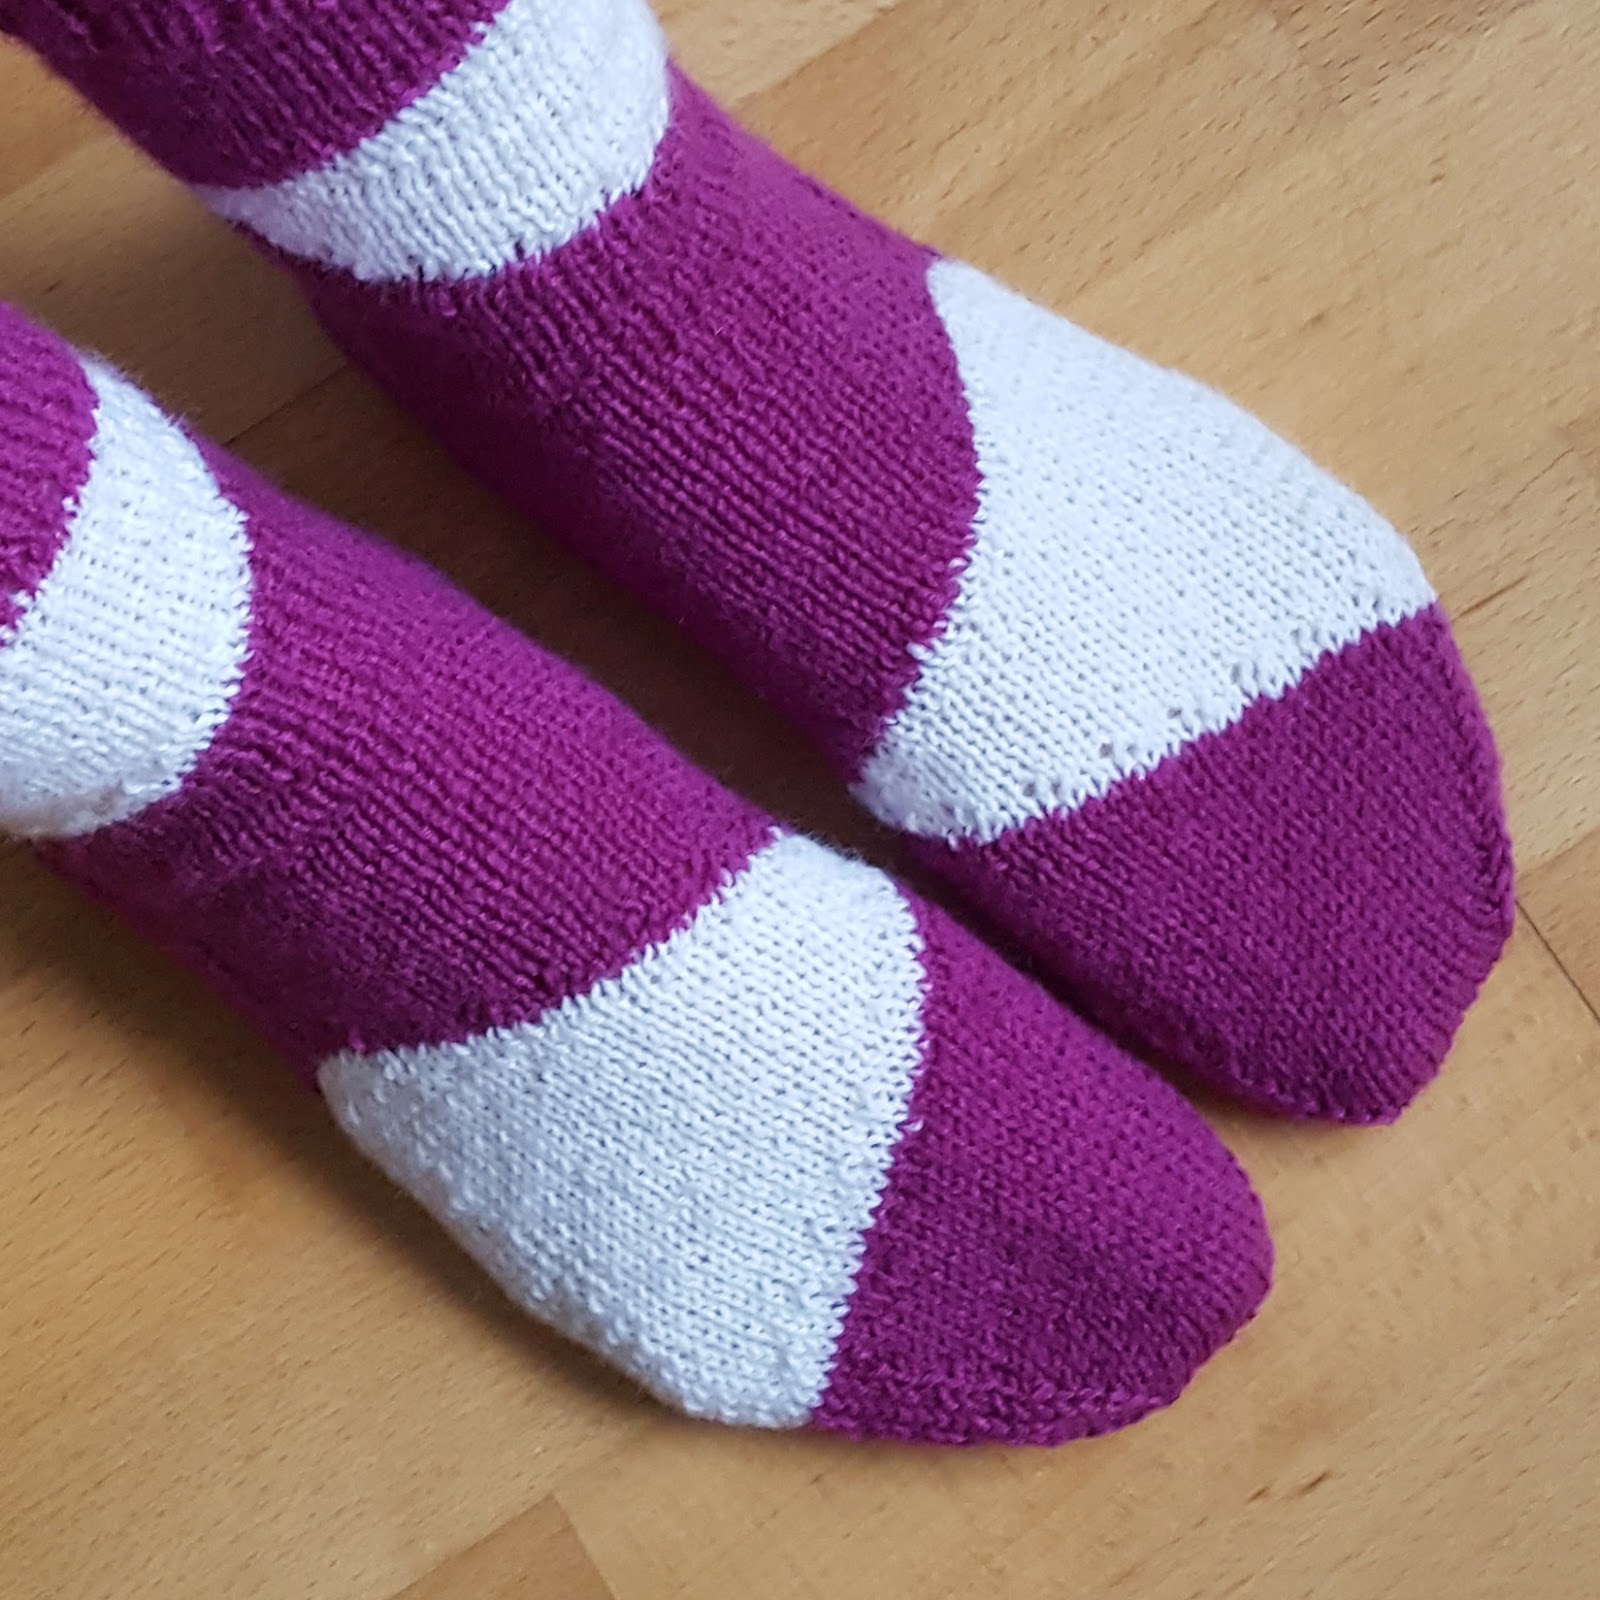
I wanted to try them out right away, so I started a pair of socks with a simple short row pattern. It's not very sophisticated and while I was knitting them, I wasn't too happy about the design ... it just looked too blobby. But once the first sock was finished, the look rather grew on me and I decided to knit its partner.
These socks are knitted from the cuff down, with a short row heel (knitted with shadow wrap short rows). The blobby pattern is achieved with short rows.
As with some of my other sock patterns (e.g. Iceberg Socks or Battenberg Socks), this blogpost is more of a sketch or recipe than a complete pattern. It is assumed that you know how to knit socks to fit your feet.
Klecks is the German word for a large blot or splodge.

This work by Knitting and so on is licensed under a Creative Commons Attribution-NonCommercial-ShareAlike 4.0 International License.
Materials
- 50 to 80 grams of fingering weight yarn in two colors (I used about 40 grams of main color (MC) and about 20 grams of contrast color (CC)).
- 3mm needles - that can be dpns, a circular needle with a length of at least 80cm or needles that you can use to knit socks in the round - of course, if you prefer to knit socks with 2.5mm needles you can used these, too, the important point is to cast on a number of stitches that is a multiple of 3
- a tapestry needle to weave in ends
- two stitch markers to mark the half and beginning of a round
Techniques
- Loose Cast-On: If I knit top-down socks (or something else that needs a loose CO), I always do a longtail CO, but on two needles.
- Kitchener Stitch: i.e. grafting two life rows of stitches as for example shown in this YouTube video by Purl Soho.
- Sock Knitting Table: There are already a number of tables available on the web that tells you how many stitches to cast on for socks of any foot size, e.g. here by Schachenmayr (see table on page 3), here by Regia or here at aboutneedlework. For this pattern you need the number of stitches to cast on for your socks.
- German Short Rows (t+p): when you turn, bring yarn to the front and pull it back so that a sort of double-stitch is created, then knit back as usual - when you have to knit the double-stitch, be careful to knit it as one stitch (see also https://www.youtube.com/watch?v=P6n561SMZXQ); this method has the advantage the no picking up of stitches is necessary. In the pattern, this stitch will be called t+p (turn and pull).
- Shadow Wrap Short Rows: the last stitch you knit (or purl) before turning, is worked into the stitch in the row below, which also leaves you with a pair of stitches that has to be worked as one in the row above. This method is shown in this YouTube video by Lee Meredith. A video by Miriam Felton that shows how to do a heel with shadow wraps can be found here on YouTube. However, the heel knitted here is knitted slightly different because here there are two rounds between the two parts of the heel, i.e. there won't be any triple stitches.
As you can see, I'm using two types of short rows - German short rows for the color pattern and shadow wrap short rows for the heel. That is just a personal preference - you can substitute one short row method for another: make sure that the stitch that would be turned back to form a double-stitch (for German short rows) is the one that would be wrapped (for Wrap-and-Turn short rows) or the one that where you'd knit into the row below (for Shadow Wrap short rows).

Cuff
With MC CO54 sts (or another number of sts that is a multiple of 6) and join in round. Place a marker to mark the beginning of the round (called "end marker").
Knit 10 rounds of p1-k2-ribbing - while you're knitting the first round, place one marker after knitting half of the stitches (called "half marker")
Round 11: k all
Now you start the first short row sequence - still in MC.
(a) k to 2 bef half marker, t+p, p to end marker, slip end marker, p to 2 bef half marker, t+p, k to end marker
(b) k to 3 bef last double-stitch, t+p, p to end marker, p to 3 bef last double-stitch, t+p, k to end
repeat (b) until you there are only 3 sts between the end marker and the next double-stitch
If you cast on exactly 54 sts round 12 reads as follows:
(a) k25, t+p, p25, (slip end marker), p25, t+p, k25 (now you're back at the end marker)
(b) k22, t+p, p22, p22, t+p, k22
(c) k19, t+p, p19, p19, t+p, k19
(d) k16, t+p, p16, p16, t+p, k16
(e) k13, t+p, p13, p13, t+p, k13
(f) k10, t+p, p10, p10, t+p, k10
(g)k7, t+p, p7, p7, t+p, k7
(h) k4, t+p, p4, p4, t+p, k4
Round 13: k all
Change to CC
Round 14: k all
Now you knit the next short row sequence
Round 15:
k27
(a) k4, t+p, p4, (slip half marker), p4, t+p, k4 (now you're back at the half marker)
(b) k up to and including last double-stitch, k3, t+p, p to half marker, p up to and including last double-stitch, p3, t+p, k to half marker
Repeat (b) until the double-stitch is the third stitch before the end marker
k27
If you cast on exactly 54 sts, round 15 reads as follows:
k27
(a) k4, t+p, p4, (slip half marker), p4, t+p, k4 (now you're back at the half marker)
(b) k7, t+p, p7, p7, t+p, k7
(c) k10, t+p, p10, p10, t+p, k10
(d) k13, t+p, p13, p13, t+p, k13
(e) k16, t+p, p16, p16, t+p, k16
(f) k19, t+p, p19, p19, t+p, k19
(g) k22, t+p, p22, p22, t+p, k22
(h) k25, t+p, p25, p25, t+p, k25
k27
Round 16: k all
Round 17:
k27
(a) k to 2 bef end marker, t+p, p to half marker, slip half marker, p to 2 bef end marker, t+p, k to end marker
(b) k to 3 bef last double-stitch, t+p, p to half marker, p to 3 bef last double-stitch, t+p, k to end
Repeat (b) until you there are only 3 sts between the end marker and the next double-stitch
k27
If you cast on exactly 54 sts, round 17 reads as follows:
k27
(a) k25, t+p, p25, (slip half marker), p25, t+p, k25 (now you're back at the half marker)
(b) k22, t+p, p22, p22, t+p, k22
(c) k19, t+p, p19, p19, t+p, k19
(d) k16, t+p, p16, p16, t+p, k16
(e) k13, t+p, p13, p13, t+p, k13
(f) k10, t+p, p10, p10, t+p, k10
(g) k7, t+p, p7, p7, t+p, k7
(h) k4, t+p, p4, p4, t+p, k4
k27
Round 18: k all
Change back to MC
Round 19: k all
Round 20:
(a) k4, t+p, p4, (slip end marker), p4, t+p, k4 (now you're back at the end marker)
(b) k up to and including last double-stitch, k3, t+p, p to end marker, p up to and including last double-stitch, p3, t+p, k to end marker
Repeat (b) until the double-stitch is the third stitch before the half marker
If you cast on exactly 54 sts, round 20 reads as follows:
(a) k4, t+p, p4, (slip end marker), p4, t+p, k4 (now you're back at the end marker)
(b) k7, t+p, p7, p7, t+p, k7
(c) k10, t+p, p10, p10, t+p, k10
(d) k13, t+p, p13, p13, t+p, k13
(e) k16, t+p, p16, p16, t+p, k16
(f) k19, t+p, p19, p19, t+p, k19
(g) k22, t+p, p22, p22, t+p, k22
(h) k25, t+p, p25, p25, t+p, k25
Round 21: k all
Heel
In MC
Short row heels are knitted over one half of the total stitches (called the heel stitches) - depending on the shape of your foot this may be a bit tight. So, when knitting a short row heel, I usually increase the back "half" by two or three stitches to get a heel that is slightly wider. That's what is done during the first 4 rounds of the heel and this means that all the increases are on the side that contains the back stitches - after finishing the heel these stitches will be decreased again.
Round 1: k to half marker, slip marker, mk1r, k up to end marker, mk1l, slip end marker
Round 2: k all
Repeat rounds 1 and 2 once more
Round 5: k to half marker,
(a) k to one stitch before end marker, knit into the mother stitch of the next st (i.e. do a shadow wrap), turn
(b) slip shadow wrap stitch, p to one stitch before half marker, purl into the mother stitch of the next st, turn
(c) slip shadow wrap stitch, k to one stitch before the last shadow wrap, knit into the mother stitch of the next st, turn
(d) slip shadow wrap stitch, p to one stitch before the last shadow wrap, purl into the mother stitch of the next st, turn
Repeat (c) and (d) until the remaining (knitted) stitches are only one third of your heel stitches.
k to end of row (making sure to pick up the shadow wraps, i.e. to knit the twin-stitches as one stitch) and mk1l (this last increase is to avoid a hole at the gap)
Round 6: k to half marker, slip half marker, mk1r (also to avoid a hole), k to end (also making sure to pick up the shadow wraps)
Round 7 and 8: k all
Round 9: k to half marker,
(a) k two thirds of the heel stitches, knit into the mother stitch of the next st (i.e. do a shadow wrap), turn
(b) slip shadow wrap stitch, p one third of the heel stitches, purl into the mother stitch of the next stitch, turn
(c) slip shadow wrap stitch, k up to and including the twin-stitch, knit into the mother stitch of the next st (i.e. do a shadow wrap), turn
(d) slip shadow wrap stitch, p up to and including the twin-stitch, purl into the mother stitch of the next st (i.e. do a shadow wrap), turn
Repeat (c) and (d) until the twin-stitches on both sides are one stitch away from the markers (end marker and half marker),
k to end of row and mk1l
Round 10: k to half marker, slip half marker, mk1r, k to end
Round 11: k all
Now the extra stitches for the heel (four per side) must be decreased again.
Round 12: k to half marker, slip half marker, ssk, k to 2 bef end marker, k2tog
Round 13: k all
Repeat rounds 12 and 13 three more times.
Now your back to your original stitch count.
For the first sock the heel is knitted over the second half of the stitches. If you want your socks to look like mirror images of one another (as the pair in the pictures), there is only one thing you need to do differently for the second sock: knit the heel over the first half of the stitches.
Foot
Knit rows 11 to 21 of the cuff.
Knit stockinette rows in MC until the foot is 5 cm short of the desired length - or until it's time to knit your prefered toe.
Toe
Knitted in MC
My formula for toes with 3mm needles is:
- twice: 1 decrease row, 2 normal rows (k all stitches)
- twice: 1 decrease row, 1 normal row
- and then decrease rows only ... until only a third of your total stitches are left, then graft in stockinette
Round 1 (decrease row): * k1, ssk, to 3 bef marker, k2tog, k1 repeat from * to end of round
Round 2: k all
Round 3: k all
Round 4 = Row 1
Round 5: k all
Round 6: k all
Round 7 = Row 1
Round 8: k all
Round 9 = Row 1
Round 10: k all
Rounds 11 to 15 = Row 1
Now there are only 18 stitches left. Distribute on two needles (9 stitches each) and graft in stockinette stitch.


%20%26%20La%20Chocolati%C3%A8re%20Mitts%20(crochet)%20-%20free%20patterns%20by%20Knitting%20and%20so%20on)
%20%26%20Sankaku%20Wrist%20Warmers%20(crochet)%20-%20free%20patterns%20by%20Knitting%20and%20so%20on)
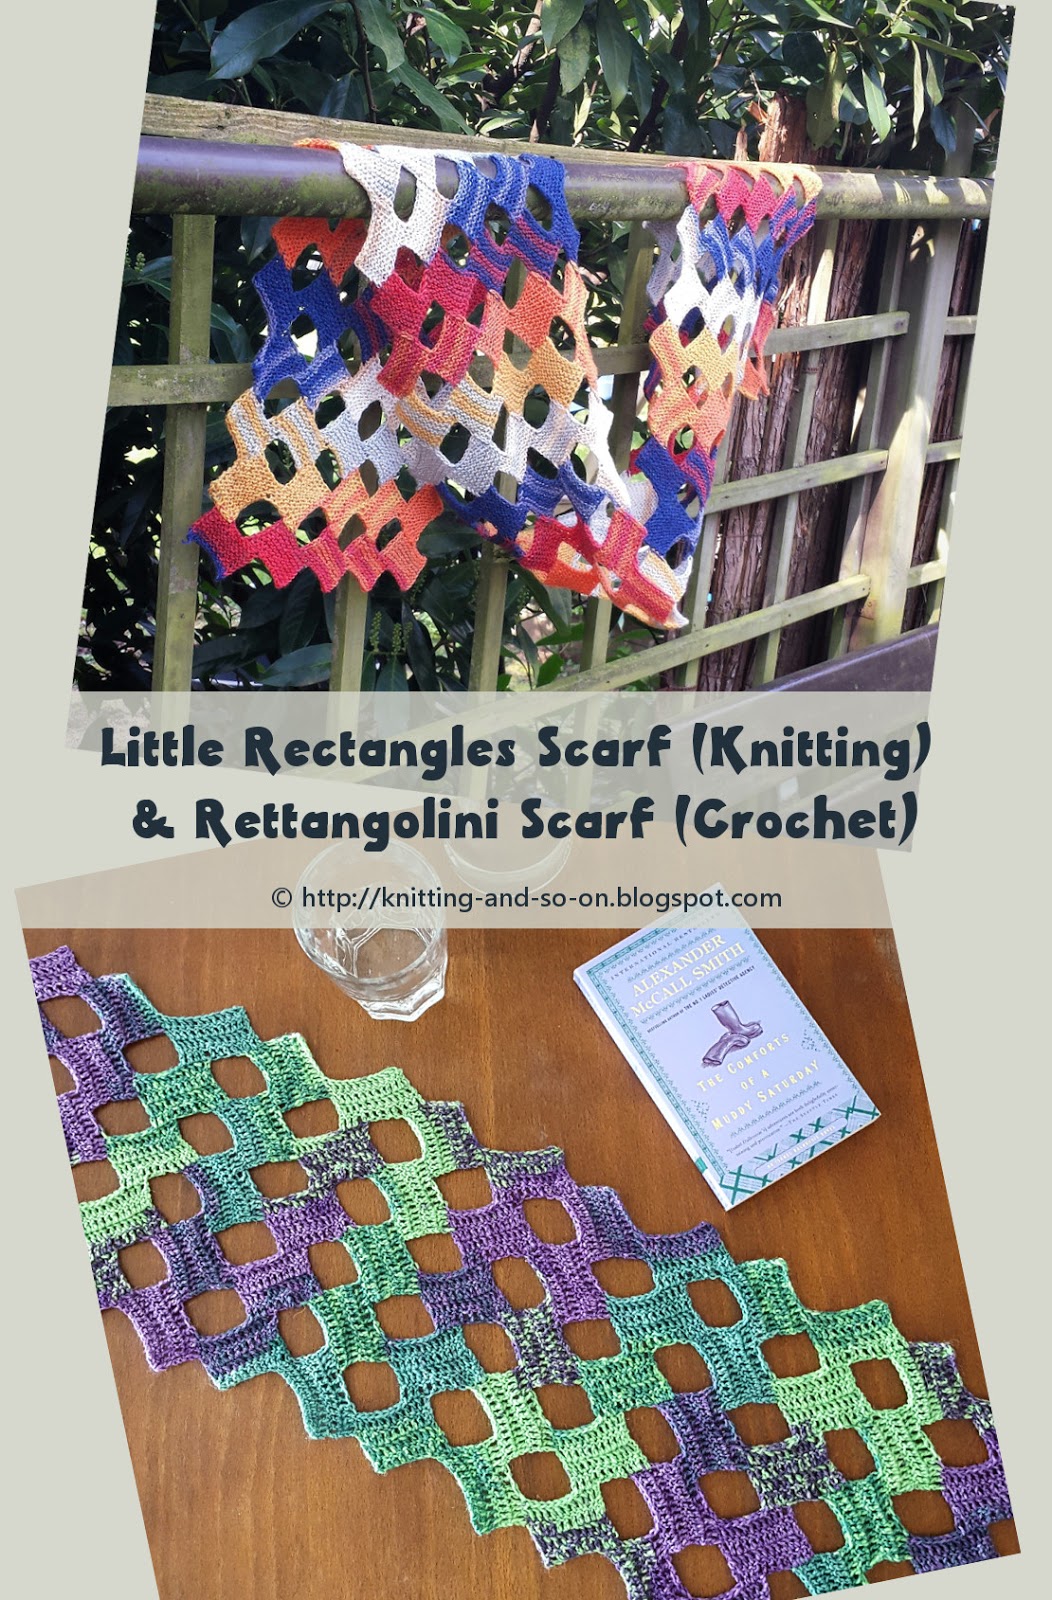
%20%26%20Rettangolini%20Scarf%20(crochet)%20-%20free%20patterns%20by%20Knitting%20and%20so%20on)